Hey there! So you're looking to building a CRUD app using Next.js and DynamoDB? Awesome choice! This combination brings together the powerful frontend capabilities of Next.js with the scalable and flexible data storage of DynamoDB.
Next.js provides an excellent foundation for creating React-based web applications, offering features like server-side rendering, routing, and API routes. DynamoDB, on the other hand, is a fully managed NoSQL database service provided by AWS, making it easy to store and retrieve data at any scale.
In this article, you'll learn how to set up your Next.js project, integrate it with DynamoDB using the AWS SDK, and implement the CRUD operations (Create, Read, Update, Delete) to manage your data effectively.
Step 1: Creating a user in AWS IAM with permission to access DynamoDB
- Open the IAM Console: Once signed in, navigate to the IAM Console by selecting "Services" in the top left corner, searching for "IAM" and selecting it from the results.

- Navigate to Users: In the IAM Dashboard, click on "Users" in the left-hand menu to view existing users or create new ones.

- Create a New User: Click on the "Add user" button to start creating a new user.

- Enter User Details: Enter a username for the new user.

- Set Permissions: In the "Set permissions" step, choose attach policies directly to the user. Since we want to grant access to DynamoDB, we'll attach policy AmazonDynamoDBFullAccess directly and click Next and click Create User.

- Create Access Key and Secret Access Key: In the Users tab, click the user that we have just created.

Click on "Create access key".

Copy the Access key and Secret access key and keep it safe and click "Done".

Step 2: Creating Table in DynamoDB
- Open the DynamoDb Console: Once signed in, navigate to the DynamoDb Console by selecting "Services" in the top left corner, searching for "DynamoDb" and selecting it from the results.

- Create a New Table: Click on the "create table" button to start creating a new table.

- Enter Table Details: Enter Table name and Partition key and its data type and click "create table".

Step 3: Creating a NextJs Project
You can create a new Next.js project using the create-next-app command. Open your terminal or command prompt and run the following command:
Keep the default settings for the questions it asks.
Step 4: Install AWS DynamoDB sdk
Now we need to install @aws-sdk/client-dynamodb and @aws-sdk/lib-dynamodb to connect the nextjs app with aws.
Step 5: Initial Setup

The above is the structure of the application.
Clear default code from app/page.js.
app/page.js
app/layout.js
create .env file to store the access key and secret access key.
.env
Step 5: Configuring NextJs to Connect with DynamoDB
src/config/dbconfig.js
This code sets up a connection to DynamoDB using the AWS SDK for JavaScript. It imports necessary libraries for DynamoDB interaction and specifies the AWS region where the DynamoDB tables are located. Then, it creates a DynamoDB client with the provided region and AWS credentials obtained from environment variables.
change the REGION variable depending the region you have created the table.
Step 6: Building Pages
app/page.js
This code snippet utilizes React's useState hook to manage state, initializing tableData as an empty array and setTableData as the function to update it. The scanTable function is defined, which asynchronously scans a DynamoDB table named "Users" using the ddbDocClient (previously initialized) and retrieves all items using the ScanCommand. Upon successful retrieval, it updates the tableData state with the retrieved items. If an error occurs during the process, it logs the error to the console.
app/page.js
The function called deleteItem that deletes an item from a DynamoDB table named "Users". The function takes two parameters: primaryKeyValue and sortKeyValue, which represent the primary key and sort key values of the item to be deleted. Inside the function, it sends a delete command to DynamoDB, specifying the table name and the key of the item to delete. If the deletion is successful, it logs a success message to the console and then calls the scanTable function to refresh the data displayed in the application. If an error occurs during the deletion process, it logs the error to the console.
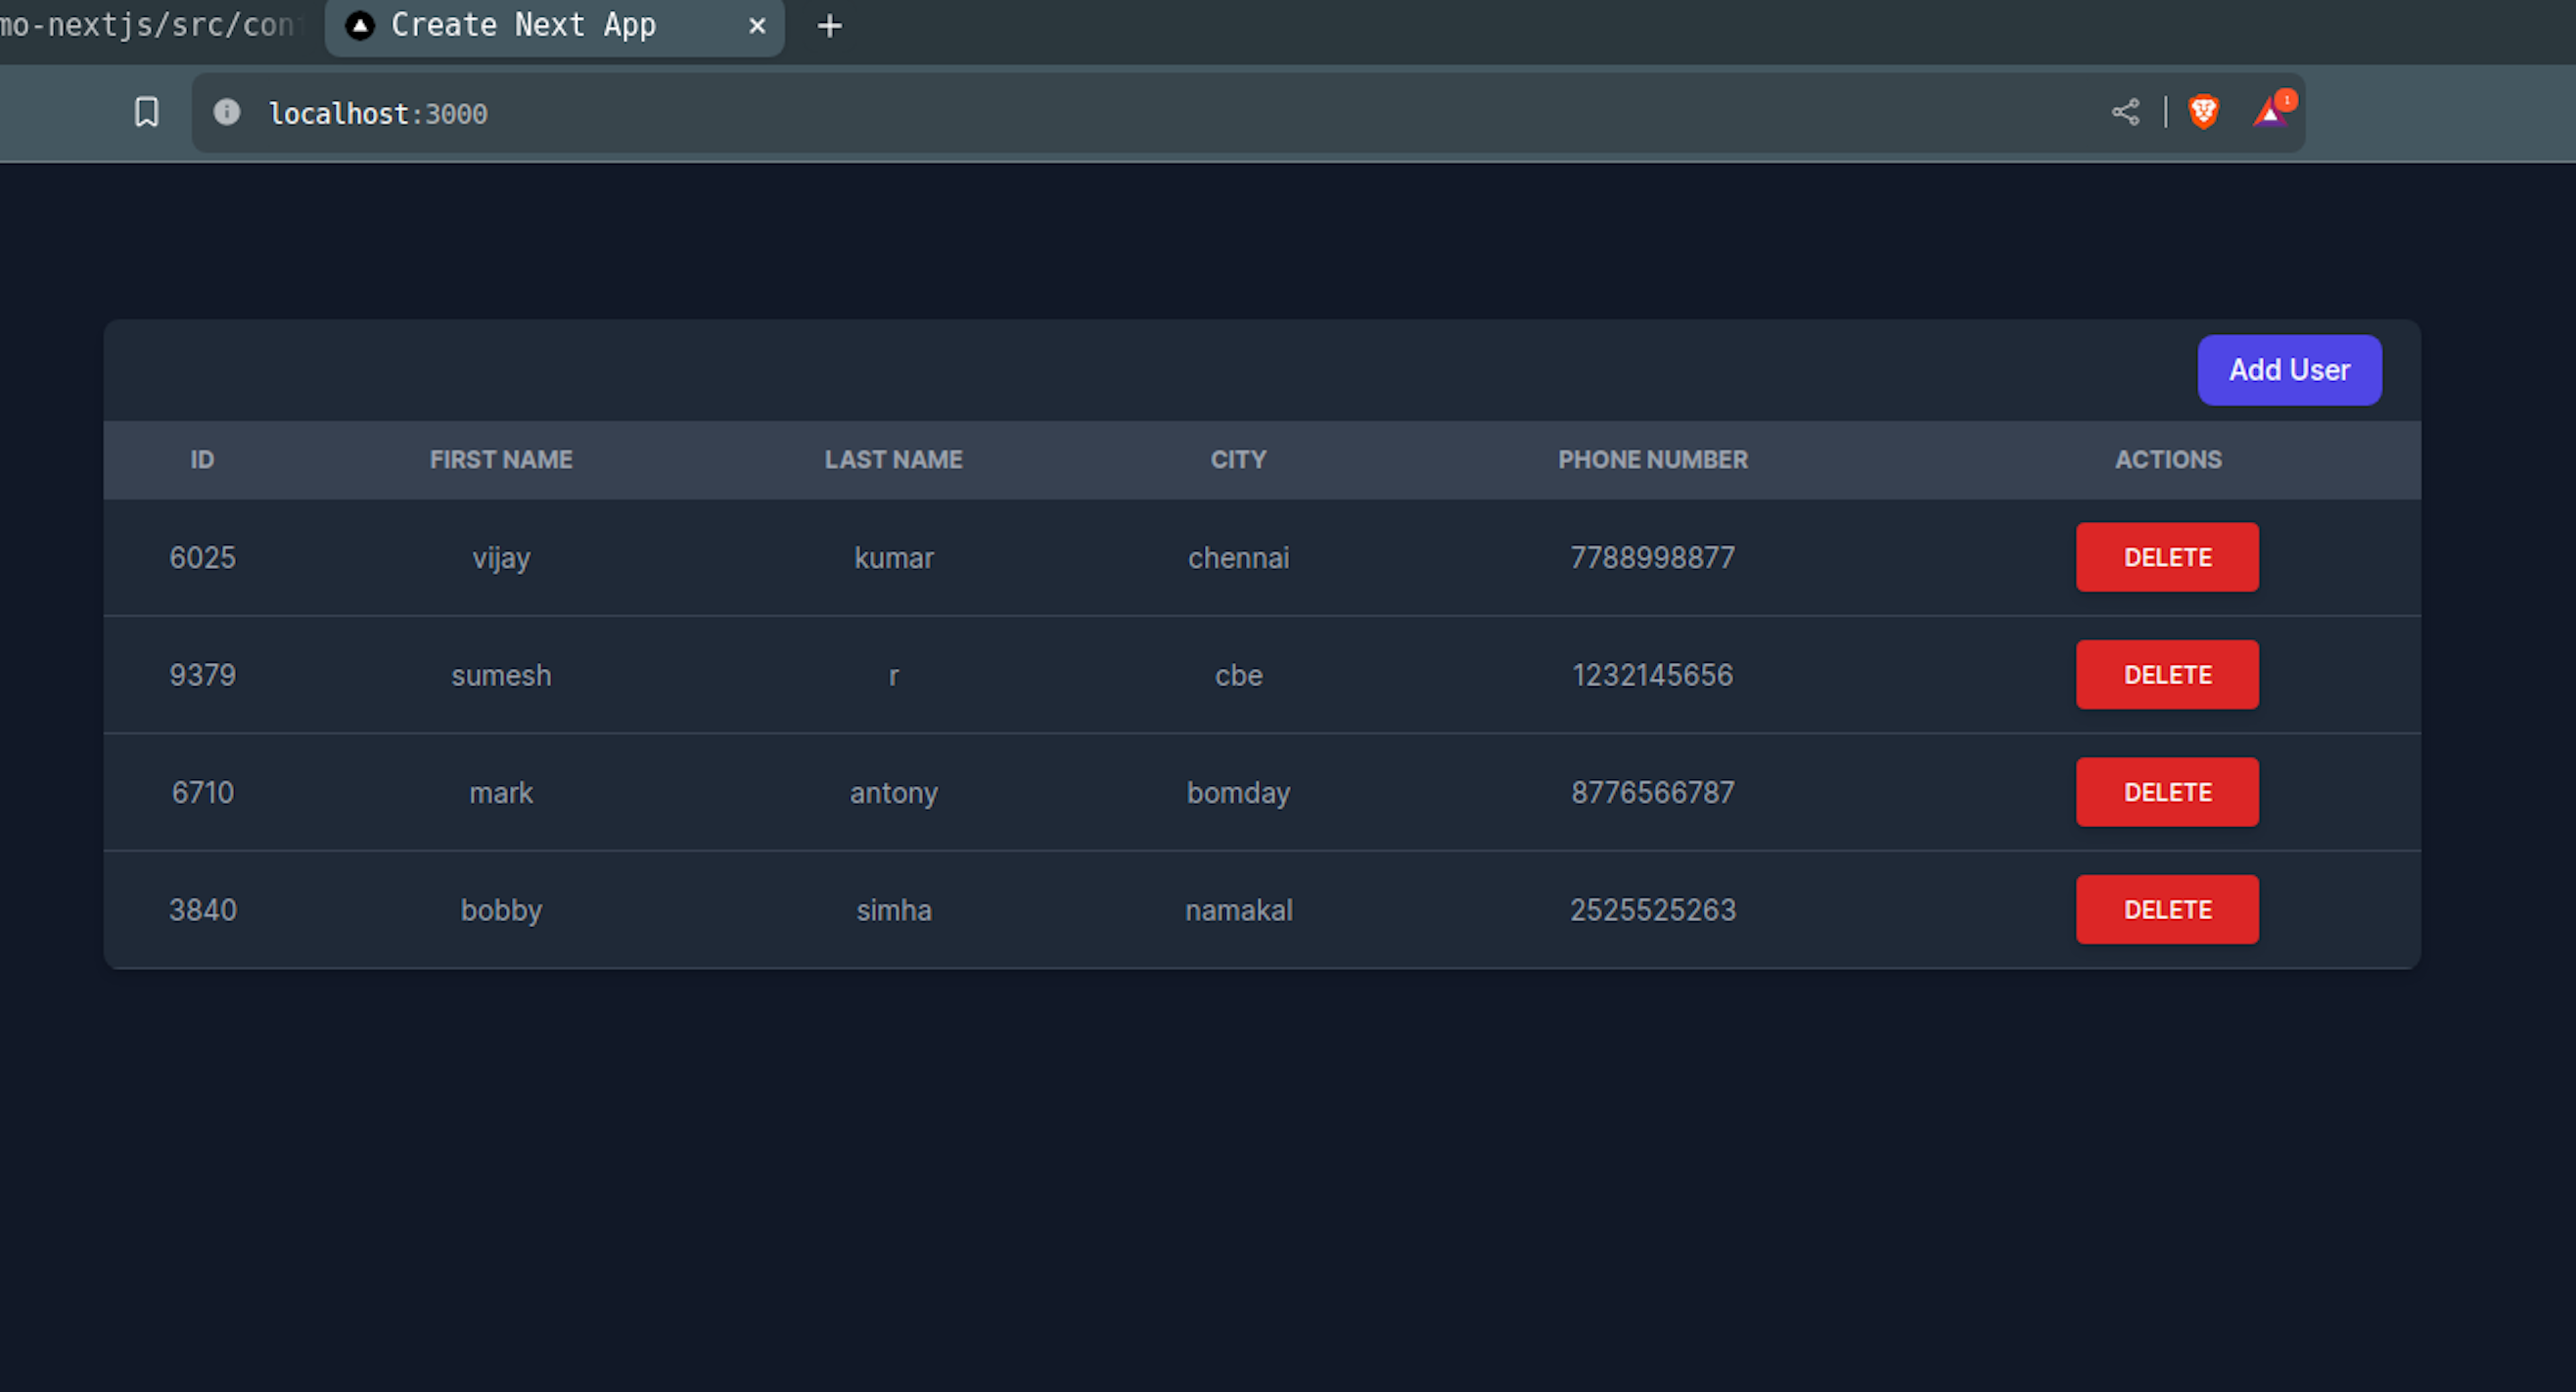
The entire code with ui of the page "app/page.js" is below
app/page.js
We have to create a new page to add a data to the Users table. Paste the below code in "app/adduser/page.js".
app/adduser/page.js
The code creates a form which adds the data to the Users table in dynamoDb.

By following these steps, you'll have successfully built a application to handle users using Next.js, Tailwind CSS, and DynamoDB.
Use the below command to run the application in localhost.
You can get the source code here.